Power Editor for Bitbucket workflow
Once Power Editor has been successfully downloaded and the license applied, you can create a new file, upload an existing file from another location, or edit a file in your repository.
Create or upload a new file to your repository
To create a new file:
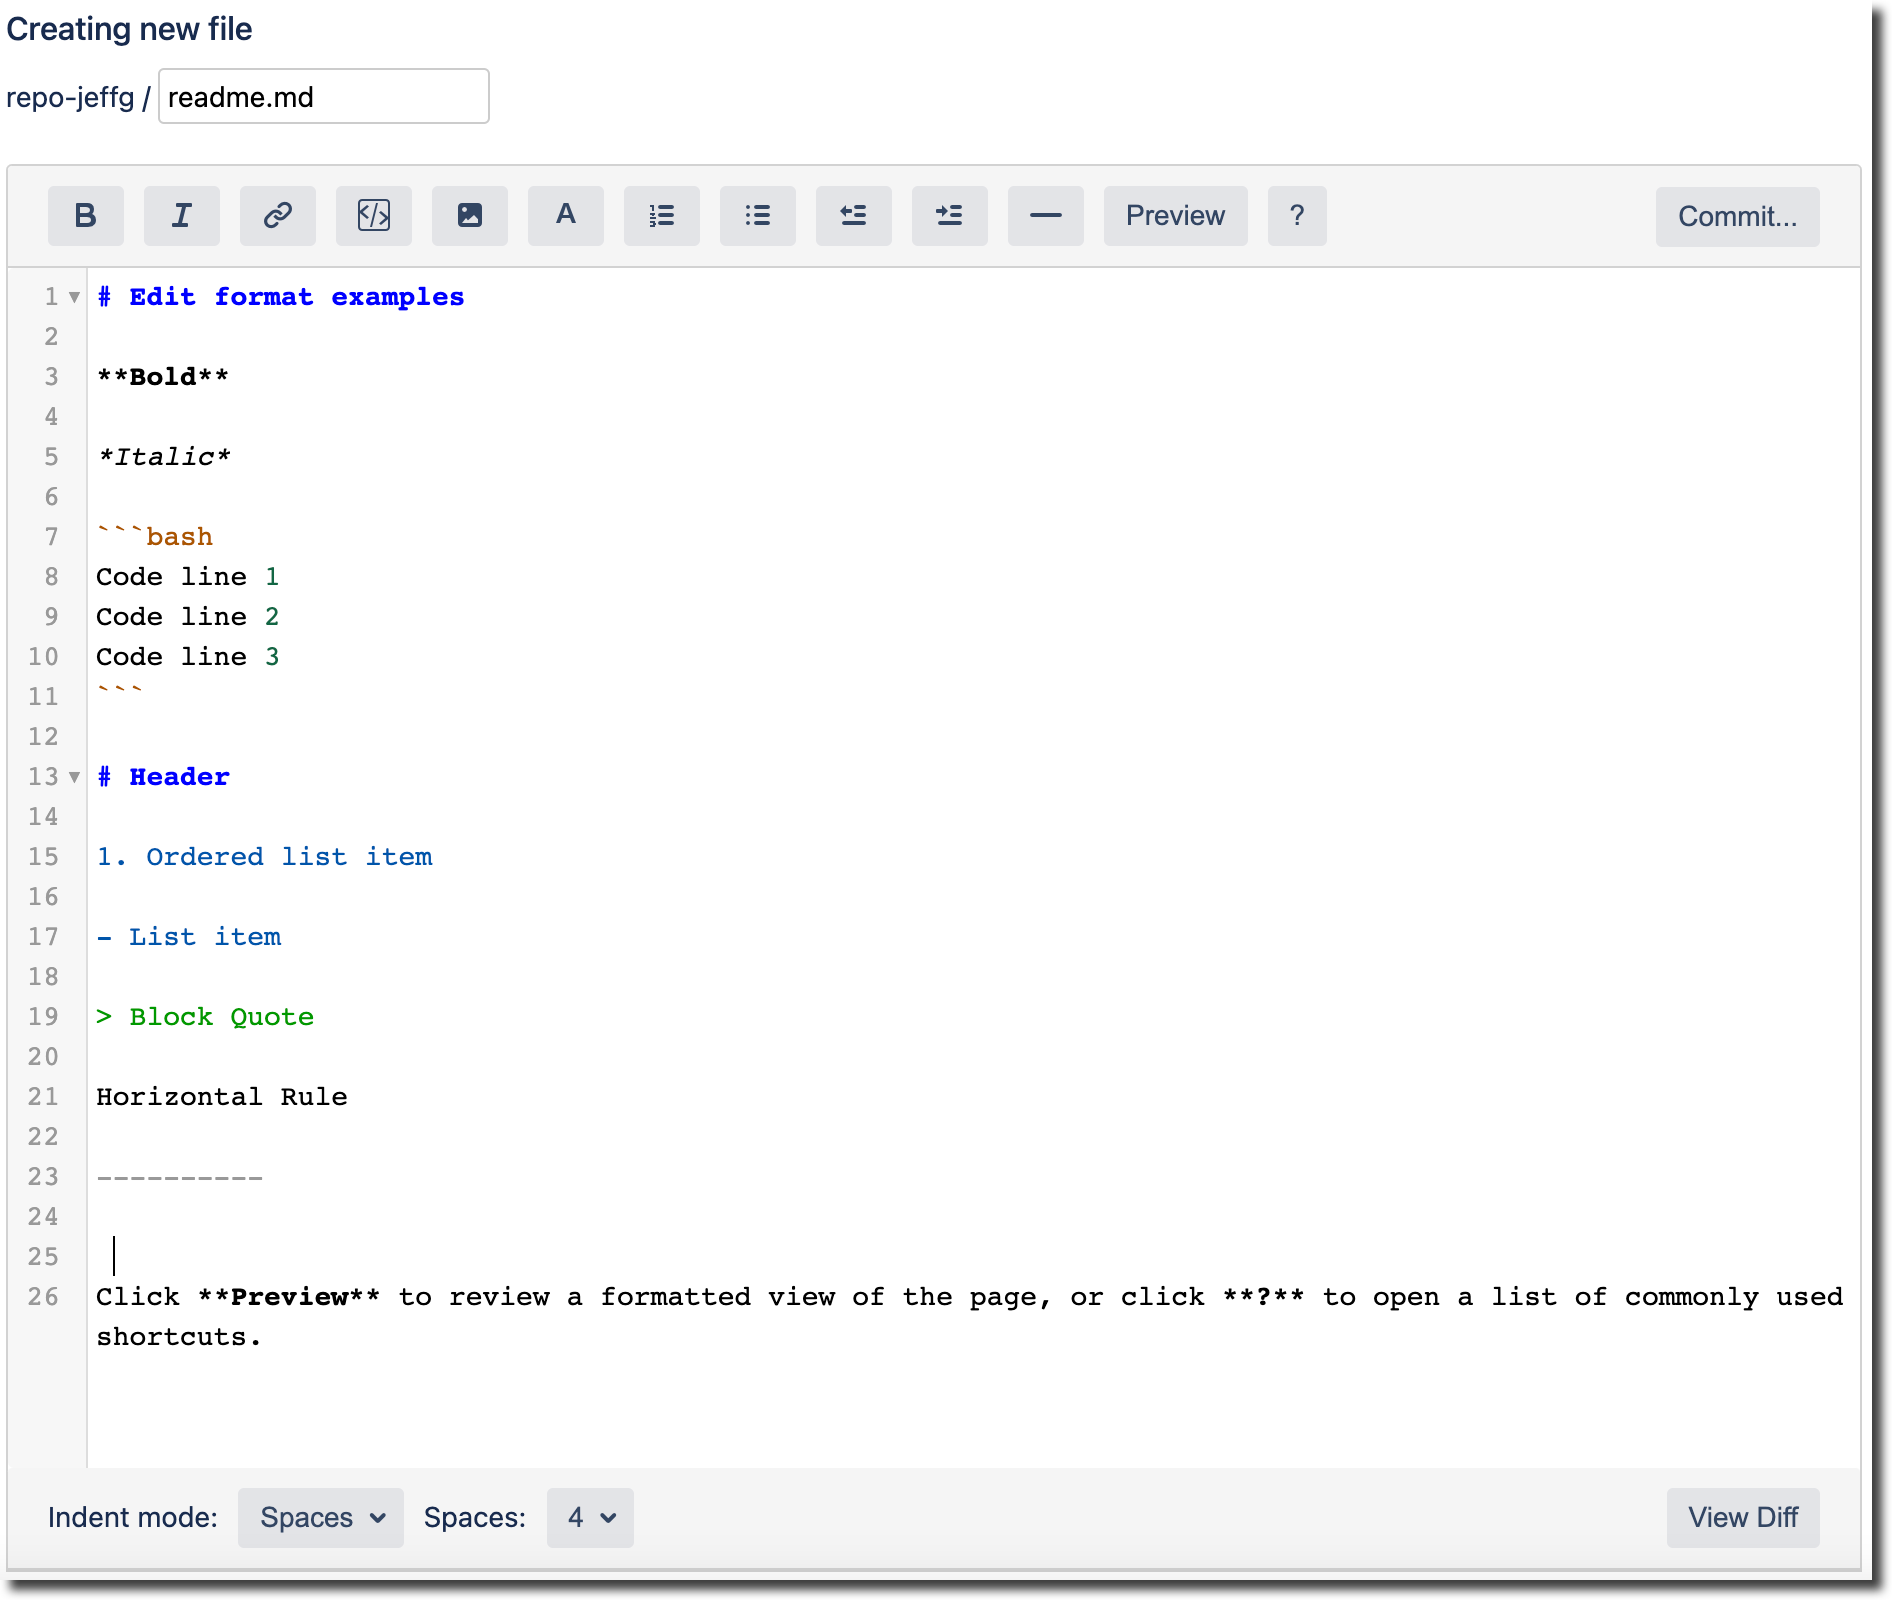
Click New File > Create New File to create a new file. Enter a filename and extension type in the Filename field above the editor, for example, README.MD.

Provide content to the file using the editor.
To upload a file:
Click New File > Upload File to upload a file from another location. When the File Upload to / page opens, drag a file into the Drop files here… box or click choose your files and navigate to the file location, select the file and click Open.
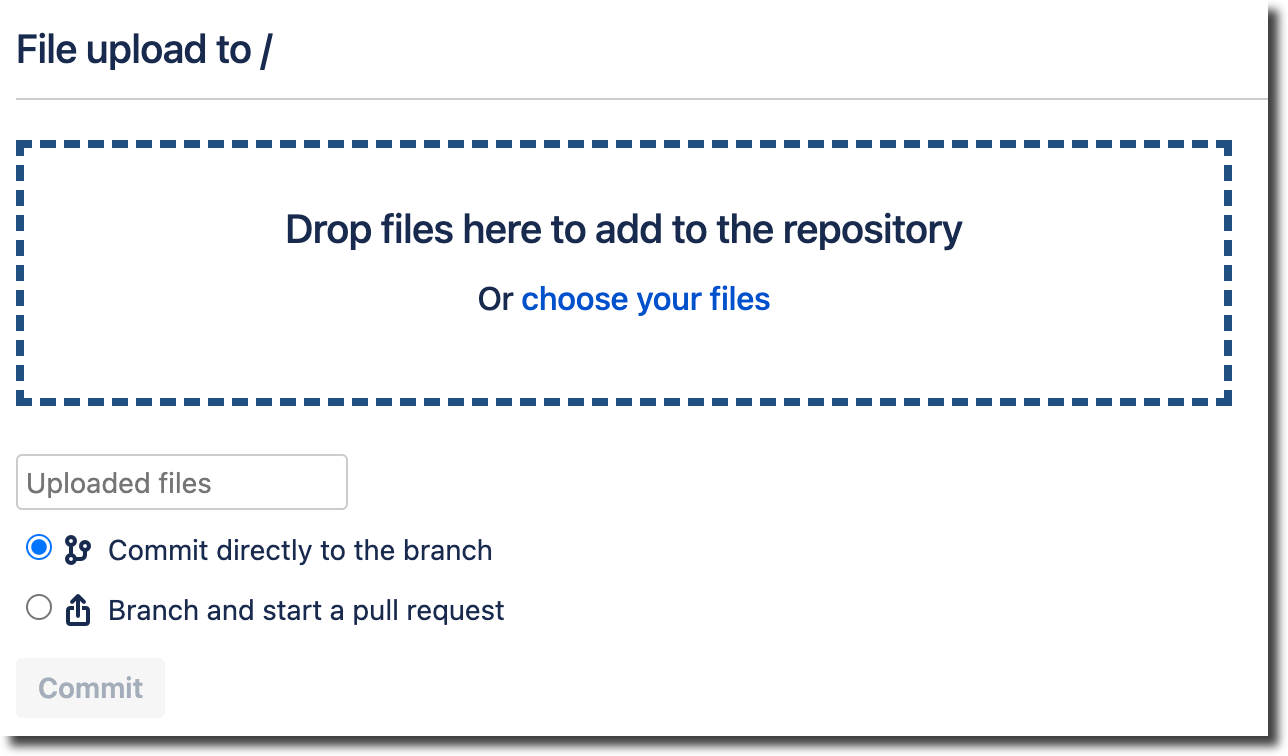
Select Commit directly to the branch or Branch and start a pull request and click Commit. The file appears in your repository.
Edit an existing file
Click on a file from your repository and click Edit to open that file in the editor. For an existing README file, you can also click Edit README.
The editor opens with the command bar along the top of the editor:

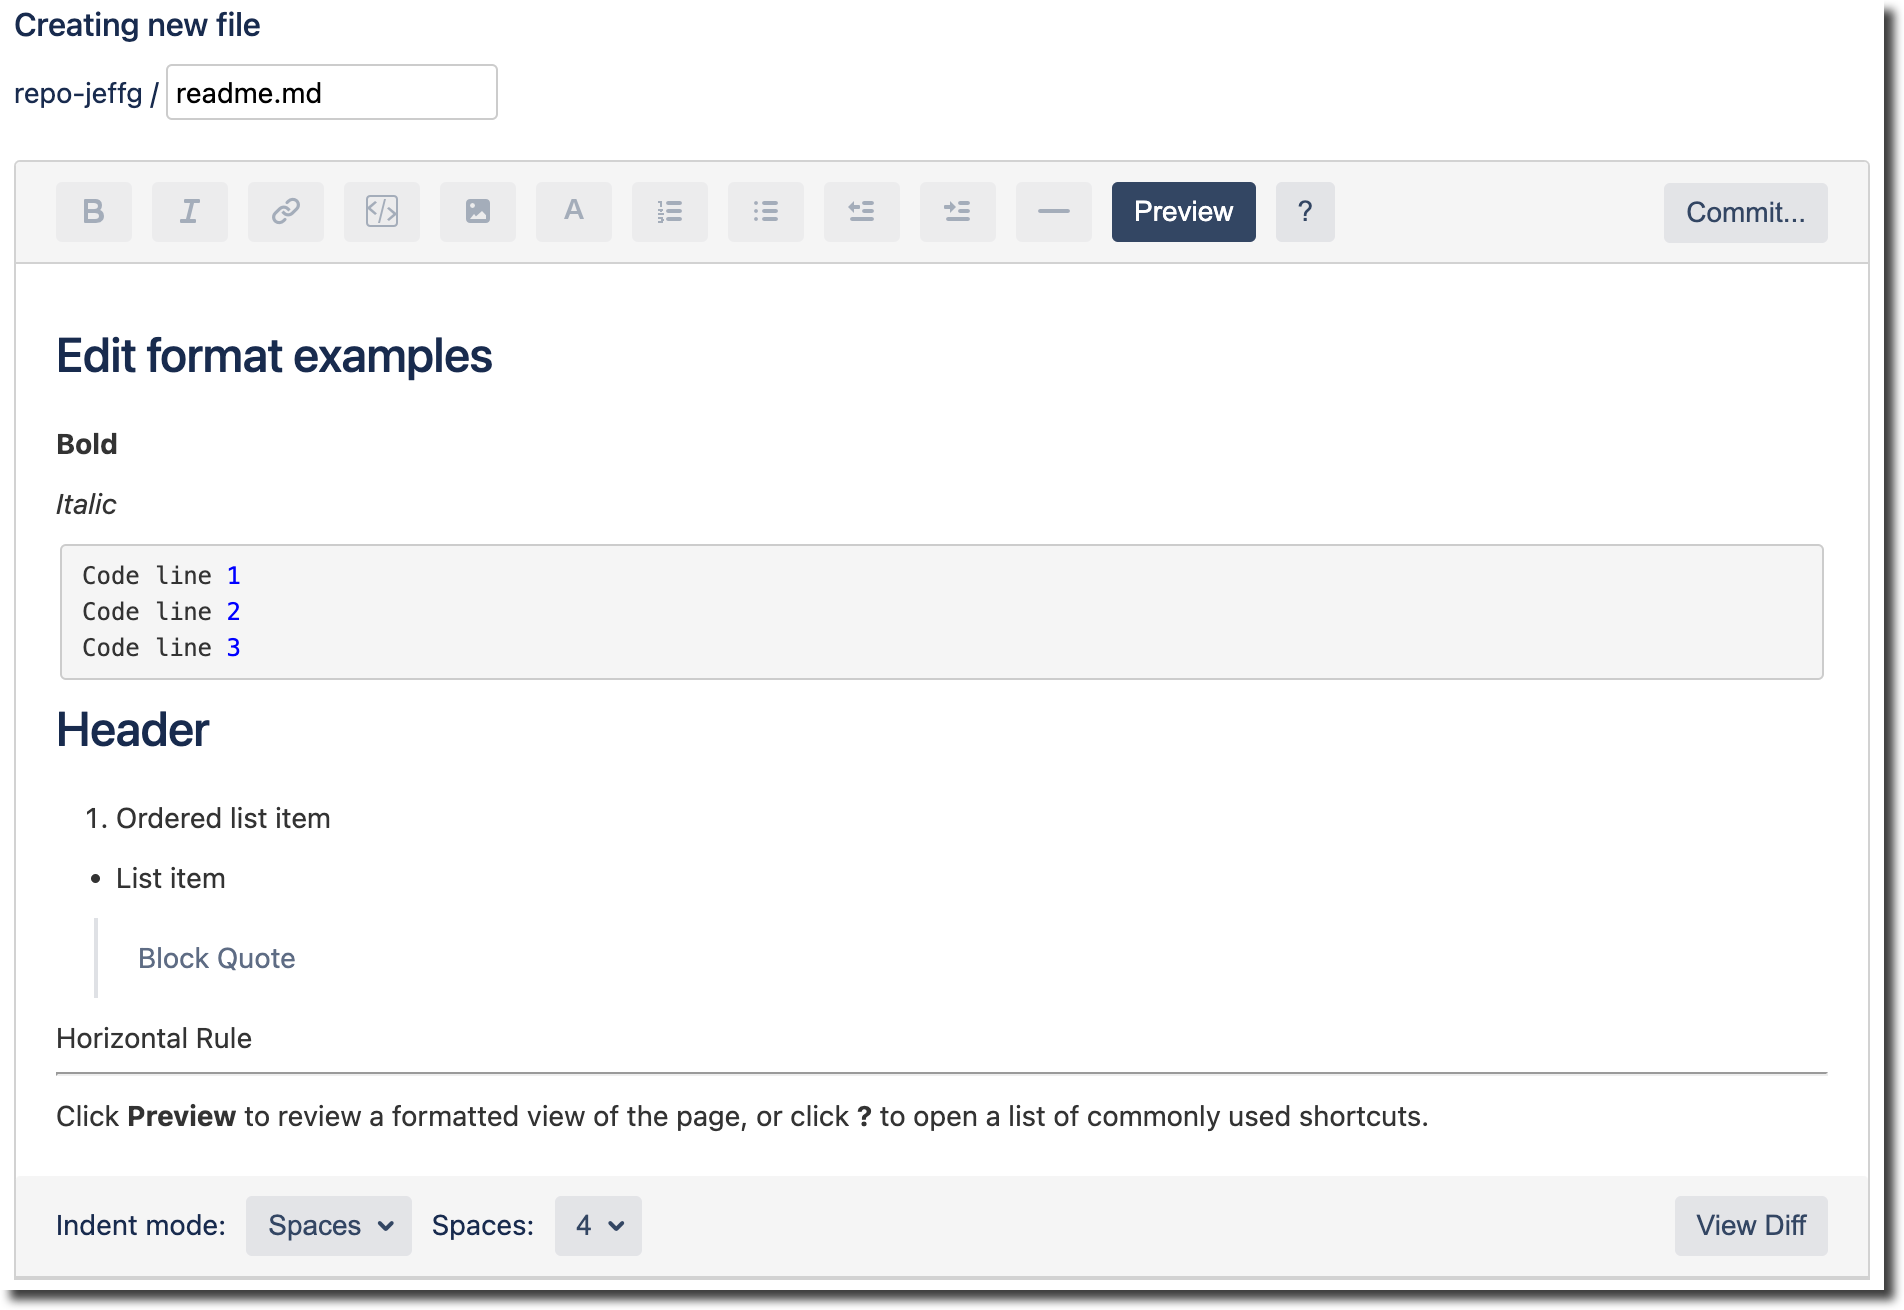
The image below shows an example of each formatting type.
Set the indent by selecting Spaces or Tabs from the Indent mode dropdown and choose the number of spaces from the Spaces dropdown.
To see what the file looks like with the formatting, click Preview.
To review the available shortcuts in Power Editor, click ?.
You can look at an online https://www.markdownguide.org/ for more information that can help with using Markdown formatting.
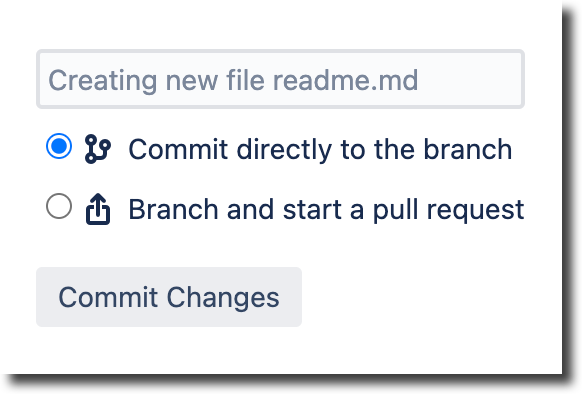
When you have finished making the changes to the file, click Commit and select Commit directly to the branch or Branch and start a pull request. Click Commit Changes.
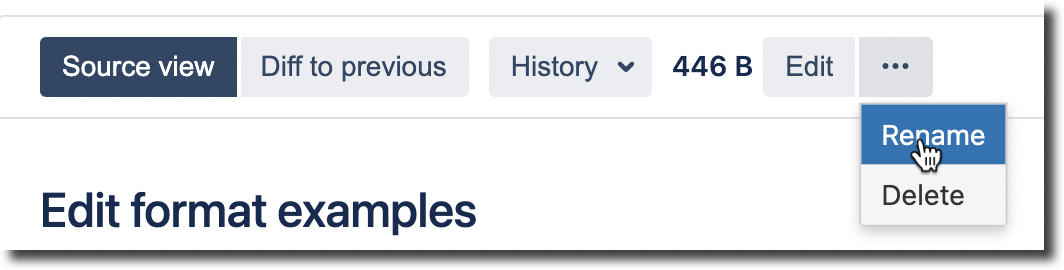
Rename file
To rename a file:
Select the file from the Source list and click … > Rename.
Enter a new file name in the New path field.
Enter a message in the Commit message field or leave the default message.
Select the Create a pull request for this change option if required.
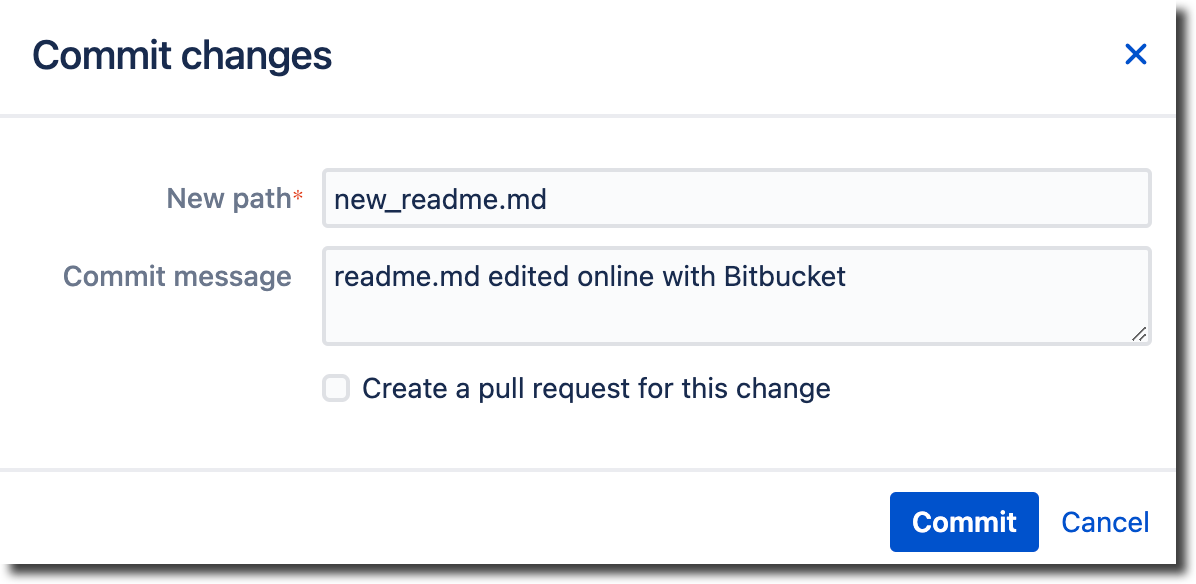
Click Commit.
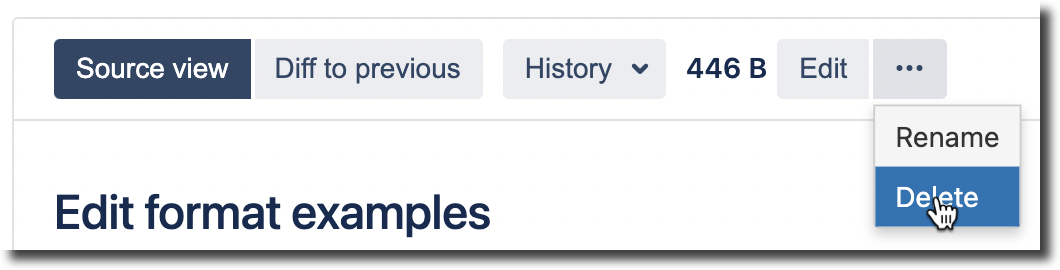
Delete file
To delete a file:
Select the file from the Source list and click ... > Delete.
Enter a message in the Commit message field or leave it the default message.
Select the Create a pull request for this change option if required.
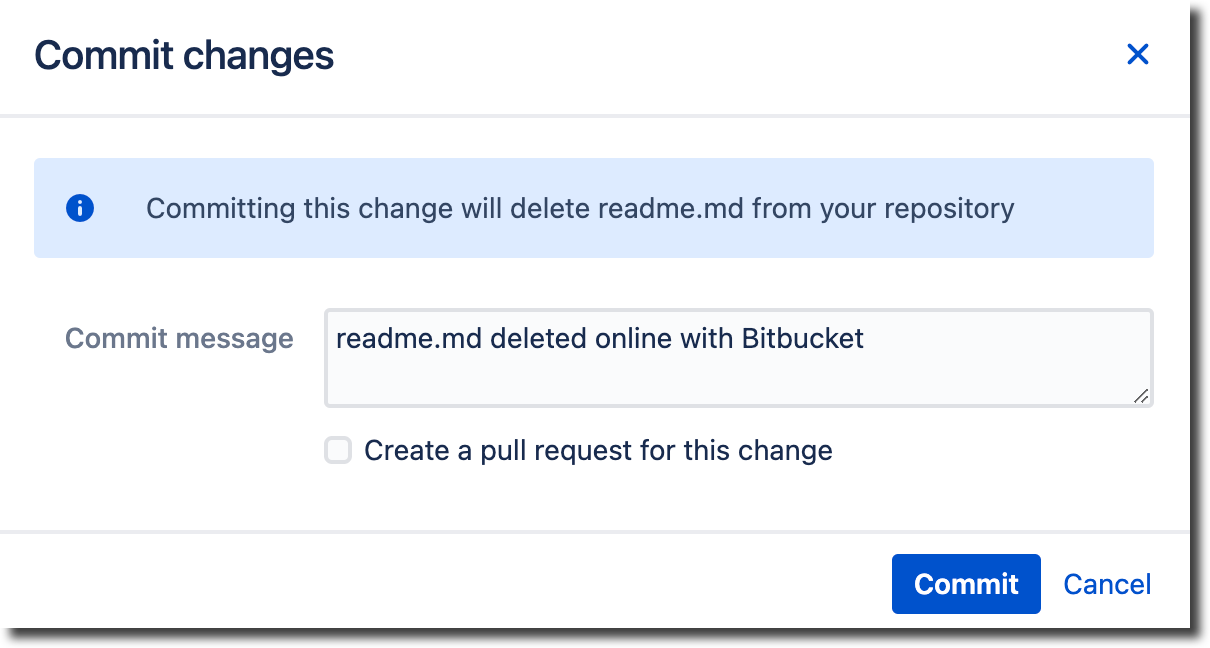
Click Commit.
Resolve Conflict
When there is a conflict between the target and source files, you cannot merge a pull request until the conflict is fixed. The Resolve conflict feature allows you to
Click Create pull request from the Bitbucket menu on the left side of the page.
Select the Source and Destination branches for the pull request and click Continue.
Enter a name for the pull request and a description, select your reviewers and click Create. When a conflict occurs, the Resolve Conflict button appears in the top right corner.

Click Resolve conflict to open the editor and display the file containing the file content from both branches. Manually make the change to the file and click Commit to commit the file to the source branch, or click Merge to Destination to merge the updated file to the destination branch.
Once you have resolved the conflict, you can merge the branches.